Classic Physique - Presentation
No Nonsense Magazine Collectors Edition 2016
By: The Beverly Advisor Team
Not only has proportion, balance, and symmetry taken a back seat during the current bodybuilding scene, but the art of physique presentation has also taken a back seat. If you attend a bodybuilding contest you’ll see years of training, strict nutrition, and who knows what else has been done, go to waste when you see the awkwardness many of the competitors exhibit onstage. That’s another reason for the institution of the “Classic Physique” division.

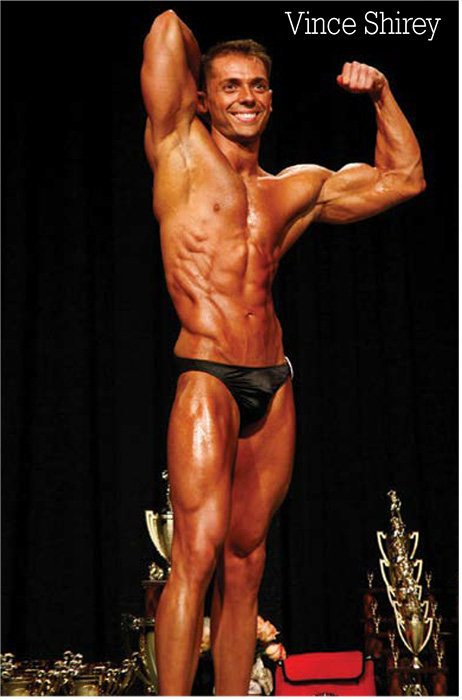
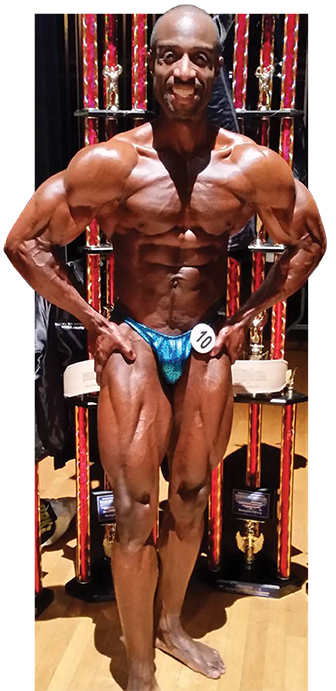
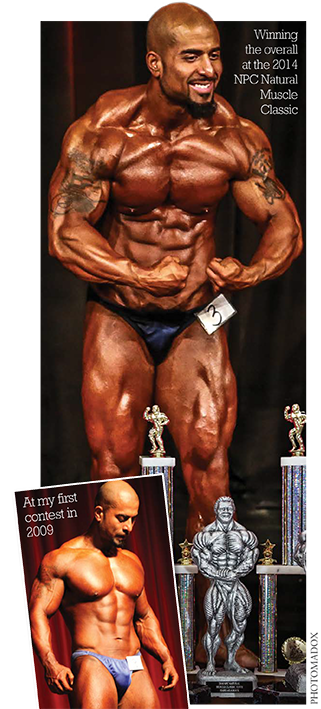
As you follow both your nutrition and workout programs to a tee, you will be well on your way to developing a Classic Physique which highlights proportion, symmetry, pleasing lines, and a small waist. Aesthetics are as important as muscularity and in order to display your physique to its best advantage you’ll need to practice your presentation. If your goal is to compete in the “Classic Physique” division you’ll need to know the rules of competition. The prejudging will consist of semi-relaxed quarter turn comparisons and these five compulsory poses.
The Classic Physique Compulsory Poses
- Front Double Biceps
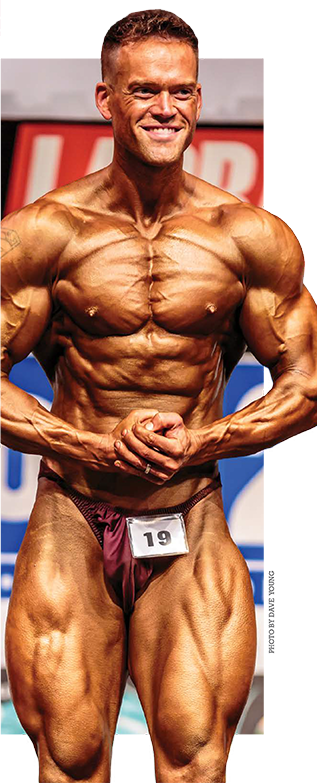
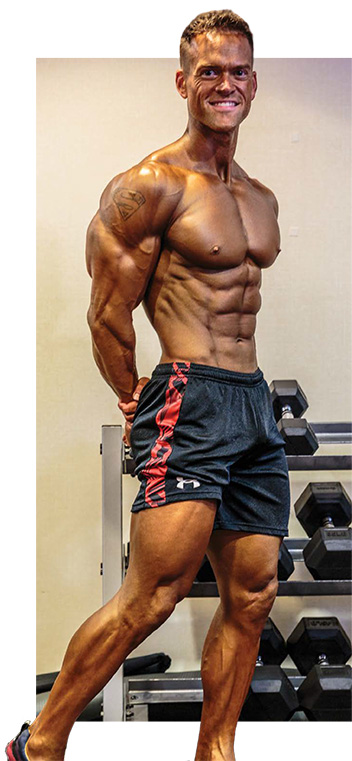
- Side Chest
- Back Double Biceps
- Abdominal and Thigh pose
- Favorite Classic pose (most muscular is not permitted)
In the finals you’ll perform your posing routine (up to a maximum of 60 seconds) and if you win your class you’ll compete in a posedown for the overall title.
Here are some tips to get started on a structured posing practice regimen:
PHASE 1 POSING PRACTICE
• Remember! “Classic Physique” competition is posing! No one will ask what you can bench press or squat. How you present yourself and look on stage is all that counts.
• Start posing practice two days per week at 12 weeks out.
• Start with 2 sets of each pose (quarter turns and mandatories) for 10 seconds. For the next four weeks hold each pose for an additional 5 seconds each week.
• Spend most of your time practicing on your front facing pose and finding which variations of your compulsory poses best highlight your physique.
• Start each pose from your feet up to make certain your legs are flexed.
• Work your way around in a circle hitting every pose.
• After completing all of the quarter turns and compulsory poses, that’s one set. Do 2 total sets.
PHASE 2 POSING PRACTICE
Eight weeks posing practice schedule: Start at 2 sets of each pose for 20-30 seconds. For the next four weeks hold each pose for an additional 5 seconds each week.
Remember to start each pose from the feet up - make sure to keep your legs flexed, suck in your gut, lift your chest, and relax your facial muscles.
• Front stance
• Quarter turn to the right
• Quarter turn to the rear
• Quarter turn to the right
• Quarter turn to the front
• Front Double Biceps
• Side Chest
• Back Double Biceps
• Abdominal and Thigh pose
• Favorite Classic pose – this should be your best pose. Experiment until you find the exact variation of a pose that best highlights your symmetry, proportion, and muscularity. Then practice it to perfection.
10-minute Prejudging Drill:
Make a 10-minute recording where you call out quarter turns and poses just like the head judge at prejudging. This drill is tremendous for practicing quarter turns. No rest between poses; stay tight the entire drill.
For variation get a video of an actual prejudging off of You Tube and go through it just like you’re on stage.
The Individual Routine:
Six weeks out (or sooner) start working on your individual routine. Your posing routine should complement your strong points (e.g. symmetry, shape, conditioning, etc.) while at the same time expressing personality.
• You can develop your routine by starting with the mandatory poses, then add a few flattering optional poses. You’ll be able to find many classic physique photos on the web. Mimic each pose you see and determine which ones feel comfortable and flatter your strong points.
• Your routine should be based solely on your strongest poses. This is your opportunity to show the judges only what you want them to see.
• Select your music well in advance and make a professional quality CD. Often it is nearly impossible to create a posing routine based on your favorite song. It is usually better to choose your music to fit your routine, not vice versa. Record only the 60 seconds of music on which you will base your routine. Don't record the entire song. Make a “posing practice CD” with your 60-second selection recorded over and over with a 30 second delay between cuts. You can practice your routine over and over without restarting the CD.
Points to Remember:
• You will often be asked to hold the front facing pose on stage much longer than the others. You should continue to hold this stance anytime you are on stage throughout the show when you are not being directly judged or as others are "called out". Never completely relax and always keep your leg tensed.
• Practice hitting the poses with your eyes closed and then opening them to see if you are hitting each pose correctly. Remember, on stage you have no mirror.
• It is not necessary to complete all of your posing "sets" at one session, but be sure to complete all scheduled "sets" of each posing round - facings, mandatories, and individual routine with music - by the end of each day.
• Posing sessions are one of the key factors in developing hardness and muscle separation - you can overdo training or cardio but you can’t pose too much
Closing Thoughts
In closing, we’d like to give you some guidelines as listed in Building the Classic Physique The Natural Way by Steve Reeves with John Little and Bob Wolff.
These are the maximum symmetrical proportions for each individual male based on height and bone size:
Classic Physique Proportions
ARM SIZE = 252% of wrist size
CALF SIZE = 192% of ankle size
NECK SIZE = 79% of head size
CHEST SIZE = 148% of pelvis size
WAIST SIZE = 86% of pelvis size
THIGH SIZE = 175% of knee size
Remember, these are maximum symmetrical measurements, and it is your proportions that count. In other words they are the maximum measurements for a body part without getting out of proportion. A good goal is to aspire to reach 90% of the maximum. For example, if your wrist measures 7”, the maximum symmetrical arm measurement would be 18”. 90% of 18” is 16.2” which would be very commendable. If you’d like a website to do the math for you go to: www.muscleandstrength.com/tools/ideal-measurements
Steve Reeves also devised a chart that determines the maximum ideal weight for a person’s height en route to building a classic physique. A 6’ male’s ideal weight is 200 lbs. At 5’11” it goes to 190 lbs and at 6’1 to 210 lbs. After that every inch below 5’11” results in a reduction 5 lbs per inch. Every inch above 6’ results in an addition of 10 lbs. At 5’8” the ideal weight is 175 lbs and at 6’3”, it is 230 pounds. Again, the 90% of maximum criteria is a worthy goal for Classic Physique competition.
The NPC has developed their own chart of acceptable heights and weights which you can find on their website at www.npcnewsonline. com. They are a little more lenient and go above Reeves’ maximum weights. For example, a competitor 5’11”- 6’ may weigh up to 207 lbs. One who is 5’7 up to 5’8” may weigh 177 lbs. In Classic Physique there is no advantage to weighing in at the top of your class, symmetry and proportion are what counts, not size.
In this article we have laid out a comprehensive program to help you achieve a “Classic Physique”. If you are training for a specific contest we’ve given you a step-by-step guide to follow. If you follow it to the letter – nutrition, supplements, training, and posing practice – whether you compete or not, you’ll be in the best shape of your life.
